The French seam step-by-step
I like to use a French seam when sewing delicate, lightweight fabrics. It encloses all the rough edges and gives a very neat finish on the inside of a garment.
When I used to stitch baby clothes for my children I also used this seam, to ensure the little one was as comfortable as possible. In this situation it worked, as the fabrics used were not thick or bulky.
Traditionally this type of seam was sewn by hand, but you can of course use your sewing machine for speed.
In the following step by step photographs I am using a fine, cotton fabric.
TIP: It is easier when you are learning, to use a fabric that has a distinct difference between the back and front sides.
Step 1
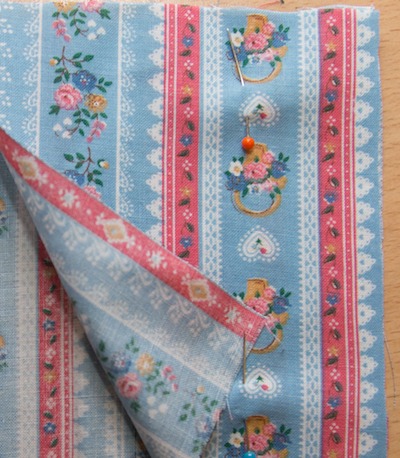
Lay your first layer of fabric, face down, on your table or working surface. Next lay the other layer on top, this time with the right side facing up.
Pin the layers together about an inch away from the edge, then stitch with a small, straight stitch 1/4 of an inch from the edge.
I have used black thread in the following photographs to make it easier for you to see where I have stitched.
Step 2
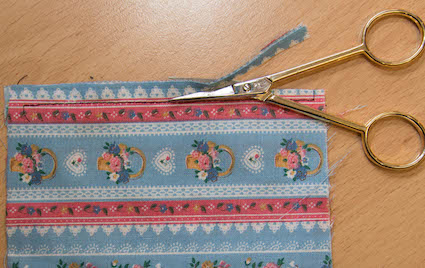
Trim the excess seam allowance down to around 1/8th of an inch.
Press the seam flat with your fingers, with both layers of fabric laying atop each other (not separated).
Fold the fabric so that the wrong sides are outermost.
Press your work with an iron to give a nice sharp edge to the seam, and pin together.
Step 3
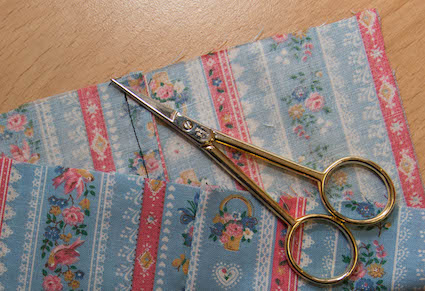
Stitch 1/4 of an inch away from the first row of stitches.
This should totally enclose the raw edges within the seam.
Once you have completed the stitching, press the seam to one side with your iron.
The photo above shows how the French seam will look when viewing both sides of the fabric.
I hope you will try this seam out for yourself, as it is a useful technique to have in your arsenal.
Top of French seam
Sewing Lessons
Return to Sewing Home Page